
India e-Visa: Comprehensive Application Guide and My Experience Applying
I recently came back from my trip to India – wandering between Delhi, Jaipur, Agra and the mountains of Dharamshala. When I was planning, I had everything planned from flights, accommodation, to itinerary.
Then came the visa. Confidently believing the official India e-Visa site that processing would only take 72 hours, I applied for the visa just 5 days before my flight, assuming this would be more than enough. Spoiler: It wasn’t straightforward.
What followed were a few anxious days refreshing my inbox, scrolling through Reddit threads of travelers who hadn’t realized they even needed a visa, and wondering if I would have to cancel the trip all together.
At the 72 hour mark, I got an email from the Indian e-Visa team requesting extra information, which is not ideal when your flight is only 2 days away.
The good news is that the visa finally came through with a day left. The trip was absolutely worth the stress.
But if you’re planning to visit India, here’s what I wish I’d known: nearly everyone including Americans, Brits and Europeans need a visa to enter India (Only a few nationalities like Japan, South Korea and the UAE are exempt). And no, there is no visa on arrival option. So, applying early can save you a lot of nerves and stress.
This guide will walk through the entire India eVisa application process, what to expect and a few lessons from my own last-minute scramble.
What is the India e-Visa and How it Works
An Indian eVisa if a fully online visa which allows you apply, pay and receive approval by email. Processing is very fast and simple: No visits to the embassy, no passport mailing and no physical passport sticker.

The e-Visa is for international travellers planning to visit India for the following specified purposes:
- Recreation and sightseeing
- Seeing friends and relatives
- Short term programmes or courses that are less than 6 months e.g. yoga, local language, music, dance, medicine – It cannot be a formal or structured course
- Medical treatment
- As an attendant to medical visa holder
- Volunteer work
- Business
- Attending a conference, workshop, seminar
Who Needs a Visa for India
Almost everyone needs a visa to enter India – yes, even Americans, Europeans and Australians. Only a couple of nationalities like Japan, South Korea and the UAE enjoy the opportunity of Visa on Arrival with specific conditions on eligibility and selected airports etc.
Everyone else – travelers from the US, UK, EU, Canada, Australia, most of Asia and Africa – is required to apply for an India visa before traveling.
Over 160 countries are eligible to apply for the e-visa. However, there are some exceptions where a consular and embassy visa is required. To confirm if you require an embassy visa, check the full list here: e-Visa
Sign up below to receive more VISa and travel tips for your India trip
INDIA E-VISA TYPES AND DURATION/VALIDITY
| Visa Type | Duration | Entries |
| e-Tourist (30 days) | 30 days from first arrival in India. Arrival must be between date of issue and expiry of ETA. | Double |
| e-Tourist (1 year/5 years) | 365 days from date ETA granted | Multiple Stay of <180 days in a calendar year |
| e-Conference | 30 days from date of arrival | Single entry |
| e-Medical and e-Medical Attendant | 60 days from first entry | Triple |
| e-Business | 365 days from date ETA granted | Multiple Stay of <180 days in a calendar year |
When to apply
For the 30-day e-tourist visa, you can apply any time between 30 days in advance of your travel date to 4 days before travel.
For other visa types – including 1- and 5-year e-tourist visa, e-business, e-medical, e-conference – you can apply from 4 months in advance of travel to 4 days minimum before travel date.
The Government does not have any provision for emergency or express eVisas.
Where to Apply
You should only apply for the e-Visa on the official Government of India Visa Application Portal: India Visa Online .
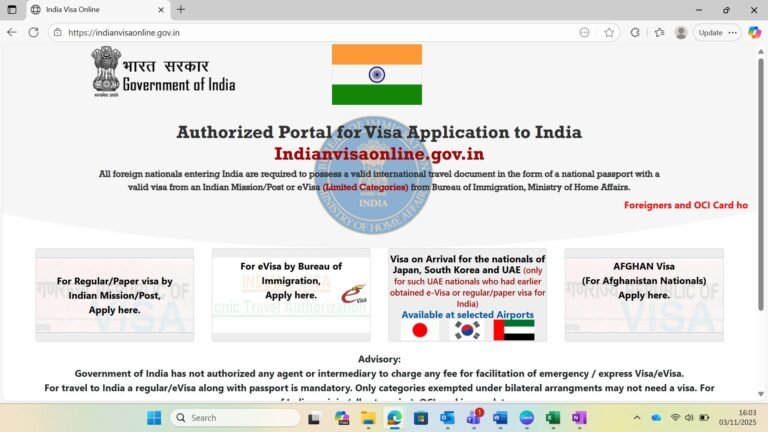
The e-visa process and website is handled by the Bureau of Immigration in India, not local Consulates who handle the embassy visa process.
There are many non-authorized agents and intermediaries online who offer e-visa application and facilitation services. I generally find that agents are an additional bureaucratic step with extra unnecessary costs.
For peace of mind and to decrease chances of errors in your application, you’re better off researching and handling the visa process yourself.
If you want to be sure you’re on the government website (for any visa application), always check the website address for “.gov” e.g. gov.in for India, gov.uk and so on.
Allowed Entry Airports and Seaports for India E-visas
With an eVisa, you can only enter India through the following designated entry ports and airports:
Airports
- Delhi
- Mumbai
- Chennai
- Kolkata
- Thiruvananthapuram
- Bengaluru
- Hyderabad
- Cochin
- Goa (Dabolim)
- Goa (Mopa)
- Ahmedabad
- Amritsar
- Gaya
- Jaipur
- Lucknow
- Trichy
- Varanasi
- Calicut
- Mangalore
- Pune
- Nagpur
- Indore
- Coimbatore
- Bagdogra
- Guwahati
- Chandigarh
- Visakhapatnam
- Madurai
- Bhubaneswar
- Port Blair
- Kannur
- Surat
Seaports
- Mumbai
- Cochin
- Mormugao
- Chennai
- New mangalore
- Port Blair
India e-Visa: Documents Needed
To apply, you should have the following:
- Passport with at least 6 months validity at application time, and at least 2 blank pages
- When applying, the application requires a scan of the biopage with photo and official details
- Return ticket or onward journey ticket
There are further required documents required depending on the specific visa type:
e-Tourist visa
- Short term courses : Letter from institute/organization/hospital on letterhead
- Voluntary work: Letter from organization on letter head
e-Medical visa
- Letterheaded letter from Indian letter mentioning the date admission has been suggested
e-Conference visa
- Invitation from organizer (mandatory)
- Political clearance from Ministry of External Affairs, Govt of India (mandatory)
- Event clearance from Ministry of Home Affairs
e-Business visa
- Business card
- A business card is a card provided to you by the company you are working for’ OR you can also upload ‘an invitation letter from the company in India including company’s information, address and phone number in India
- Business invitation letter
Step-by-Step: How to Apply for India e-Visa
The general application process is as follows:
Step 1: Create an online application
Go to the official Indian e-Visa portal: Indian e-Visa
This is the only legitimate authorized government site – bookmark this one before you even start. There are dozens of fake “agent” pages out there that charge more and promise emergency and express visa services.

Step 2: Fill out the details on the application form
It took me about 20-30 minutes to fill out the application form.
Before you begin, have your passport, travel itinerary, hotel information, travel history, and local Indian host details ready.
Provide as much detail as you can on the application form. I only briefly mentioned the places I planned to visit, and they later reached out asking me for a complete itinerary of my expected activities in India.
Step 3: Upload photo and passport page scan
You will need to upload a scanned copy of your passport page and a passport picture.
Pay attention to adhere to the photo specifications including JPEG, picture size of less than 1 MB, minimum dimensions (600 x 600 pixels when I applied), recent photo with white background. This bit is important, my friend had her application slightly delayed since they emailed her to request another photo.
In severe cases, your application can be rejected if the uploaded photo does not adhere to specifications.
Step 4: Pay eVisa Fee online
Exact fees vary by nationality, check the website for your applicable fee. I paid USD 25 with an additional bank charge of 2.5%
The payment system allows for payment via international card issued by Mastercard and Visa. I paid with card and there were no problems at all with immediate processing.
If payment is not accepted, it’s recommended to delete browser and cookies, or try on different browsers. If problems persist, then there is Payment Support Helpline you can reach out to.
Step 5: Receive confirmation and track status – make sure to keep an eye on emails in case additional information is needed
Upon submitting the application, you will receive a confirmation via email.
The official site says that processing takes 72 hours, but as I learnt, it can take longer especially if authorities request extra information
(Keep reading to see my experience and what you should do differently)
Constantly check your span or junk mail in case any official messages go there.
You can also track the status of your application online.
- Click on “Check your Visa Status”
- Input your Application ID, passport number and verification
- View status
Step 6: ETA processed and sent to your email
Once approved, you will receive an email with your Electronic Travel Authorization (ETA) attached as a pdf. Yay, Congratulations!
The ETA can also be accessed when you log into the online portal. And you should log into the portal to double-check that your visa application status reads as GRANTED.
The email will outline the conditions of your entry including when your first entry is allowed, expected e-visa expiry date, permitted duration of stay, number of entries and activities permitted when you’re in India.

Step 7: Print ETA and present at Immigration where the eVisa will be stamped on passport
Print a copy of the ETA as you will need it at both check-in and Immigration when you arrive.
On arrival, the Officer will stamp your e-Visa on your passport. The e-Visa will specify exact expiry date of your visa. For my 30 day e-Tourist visa, the expiry was exactly 30 days from the day I entered the country.
India e-Visa Cost
There are no other fees apart from the required e-Visa application processing fee online.
Visa fees are country-specific, so you must check the website to know the exact fee you’ll pay.
When applying as a Kenyan from the UK, I paid $25, and an additional 2.5% bank charge.
My Experience Applying Just 5 Days Before the Trip
I applied for my India e-Visa just five days before my flight – something I don’t recommend. The official website said the processing time was 72, so I figured I still had some breathing room. I was wrong.
Within a day or two, I started reading horror stories from travelers who hadn’t realized they needed a visa or whose e-Visas were delayed or not processed within the expected timeline. That’s when the panic started to set in. My application status was stuck at ‘submission’ and every few hours I’d refresh the tracking page, hoping for some movement.
Then came an email from the Indian e-Visa team requesting additional information: they asked for a detailed itinerary, phone number of a local Indian reference, my previous and current employer.
I collected the information and submitted within hours of the email. They ask for a response within 24 hours of the email. After sending the documents, then checked my inbox obsessively after that. It was only a day before my flight that the approval finally arrived.
The relief was real, and so was the lesson. The e-Visa system works well, but it’s not always predictable. Delays happen, follow-up questions happen, and processing times can stretch beyond what’s stated.
Looking back, I wish I’d just applied weeks before my trip instead of leaving it so close. It would’ve saved me a few sleepless nights and a lot of stress-refreshing that tracking page.
Based on my application experience, here are some 5 things I learned during my evisa application process and what you should do differently:
Tips for India e-Visa Application
1.Apply early!
If you can, apply at least 14 days before travel. The site allows you to submit upto 30 days before your expected travel date, so you can also apply way earlier.
This will allow time for the team to process, any potential follow up questions. People have also reported a higher likelihood of clarification questions when you work for entities like the UN, EU – even when travelling for personal reasons. If you work in one of these, then apply even earlier.
Early application means you can get your evisa sooner and get excited for India, rather than stress whether your trip will fall apart.
2. Double check your details
Triple-check that your documents, like the passport scan and photo meets the requirements. Ensure that you do not make any mistake on the application as it’s clear they really do scrutinize each application.
3. Give lots of detail in your evisa application
When asked for my travel plan, I just mentioned the cities I intended to travel. They later reached out asking for a complete travel plan.
It would have been simpler to just include the full itinerary in the initial application.

4. Check your email constantly for follow-up requests, including spam/junk folders
The India eVisa team can and do reach out to request more documents, clarifications or general information. In their email , they will request a response within 24 hours.
As soon as you submit your application, check your email constantly so you don’t miss anything.
In my case, the follow-up email came in on a Saturday evening when I was away on a local weekend trip. I don’t even want to think of the risks had I not checked my phone religiously during the weekend.
5. Don’t blindly trust unofficial ‘visa help’ websites, ChatGPT or even other people experiences
Every website and even ChatGPT corroborated that processing is typically quick. In the past, people reported receiving their evisa within hours of applying. So you may indeed be lucky.
However, there are also many others who had opposite experiences. Everyone has a unique experience. You are better off taking the most conservative approach with when you apply, what information you provide etc. Better to be safe than sorry.
Common India e-Visa FAQs
As far as I’m aware, no. The airlines will check to confirm you have the eVisa prior to boarding.
While the official site does not clearly answer this, I have seen anecdotes of people who reapplied after being rejected due to missing documents or information, and they received the evisa.
You can contact the India e-Visa Support Centre at indian-evisa[at]gov[dot]in or (+91) 82 7808 7808 or +91 11 24300666 for assistance
Final Thoughts: Applying Early = Peace of Mind
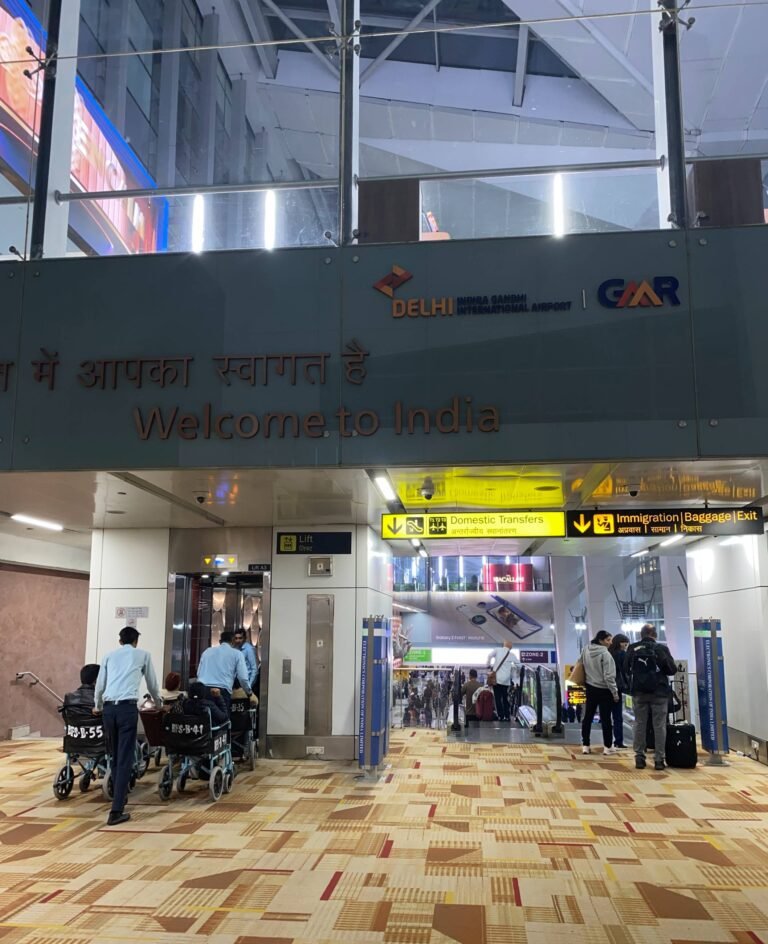
In the end, getting my India e-Visa felt like a race against the clock. But the colours and vibrancy after landing in Delhi made it all worth it. India is such an intensely beautiful experience – and you can’t fully experience it until you are there.
The main takeaway from my experience was: do not cut it close. Apply early, double check every detail and give yourself space to focus on planning the trip. It’s much nicer to be packing your bags than refreshing your inbox for visa updates.
India is vibrant, layered and full of surprises, that I share in my other posts. The visa process shouldn’t be a wild experience.
One Comment